Users
This topic provides an overview of the Users submodule, focusing on two key features:
- Users – Invite and manage individual user accounts, including details such as names, email addresses, assigned roles, and account status.
- Roles – Define and manage role-based access controls to determine what users can view or do within the platform.
Users
The Users tab allows administrators to manage user access within the platform.
From this section, you can:
- Invite new users.
- View details of existing users.
- Resend invitations to users who haven’t completed registration.
- Use the search feature to find users by name, email address, or role.
Note: Only users with administrative privileges can access and manage this section.
Accessing Users
From the Track or Trail module, click the Manage (⚙️) icon in the top-right corner of the platform to access the Users submodule.

Inviting a New User
Using the Invite User feature, you can onboard new users to the platform. To invite a user, click Invite User button.
When you select the option to invite a new user, a form window appears where you must provide the following details:
- First name – Enter the user's first name.
- Last name – Enter the user's last name.
- Email – Enter a valid email address for the user. This will be used for account access and communication.
- Roles – Select one or more roles that define the user’s permissions within the platform.
Note: Roles determine the user's access level. Assign roles based on their job responsibilities to ensure appropriate platform access.
Action Buttons
-
Clear – Clears all input fields in the form, allowing you to start over.
-
Invite – Sends the invitation to the entered email address. The user will receive an email with instructions to complete their account setup.
After the user completes the onboarding process, their details will appear in the Users list.
If the invitation expires or the user does not receive it, you can resend it by selecting the Resend Invite button in the Users list.
User Search and Filter Options
The search bar located above the User List allows you to find users quickly. This is helpful for managing large teams efficiently.

You can search and filter users using the following fields:
- Name – Use the Search by Name input field to find users by their first or last name.
- Email – Use the Search by Email input field to locate users by email address.
- Role – Use the Roles dropdown to filter users by assigned role(s).
Action Buttons
- Clear – Resets all search inputs and filters.
- Search – Applies the selected filters and displays matching results.
Users List
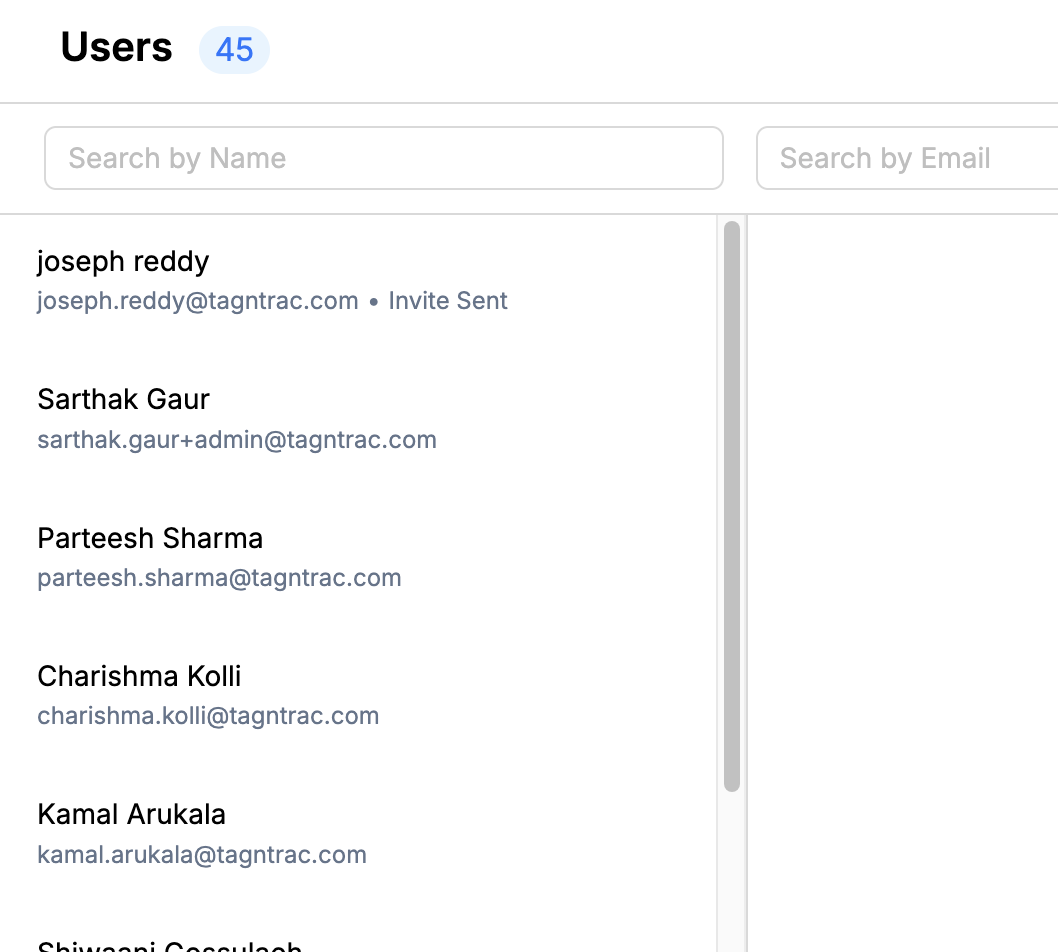
The Users List displays information about all users currently active on the platform. You can view each user’s name and email address directly in the list.
The total number of users currently in the system is displayed next to the Users heading. For example, Users 45 indicates that there are 45 users in the system.
To view additional details or access user-specific actions, select the user entry from the list.
User Detail View and Actions
Click on any user in the user list to open the user detail view.
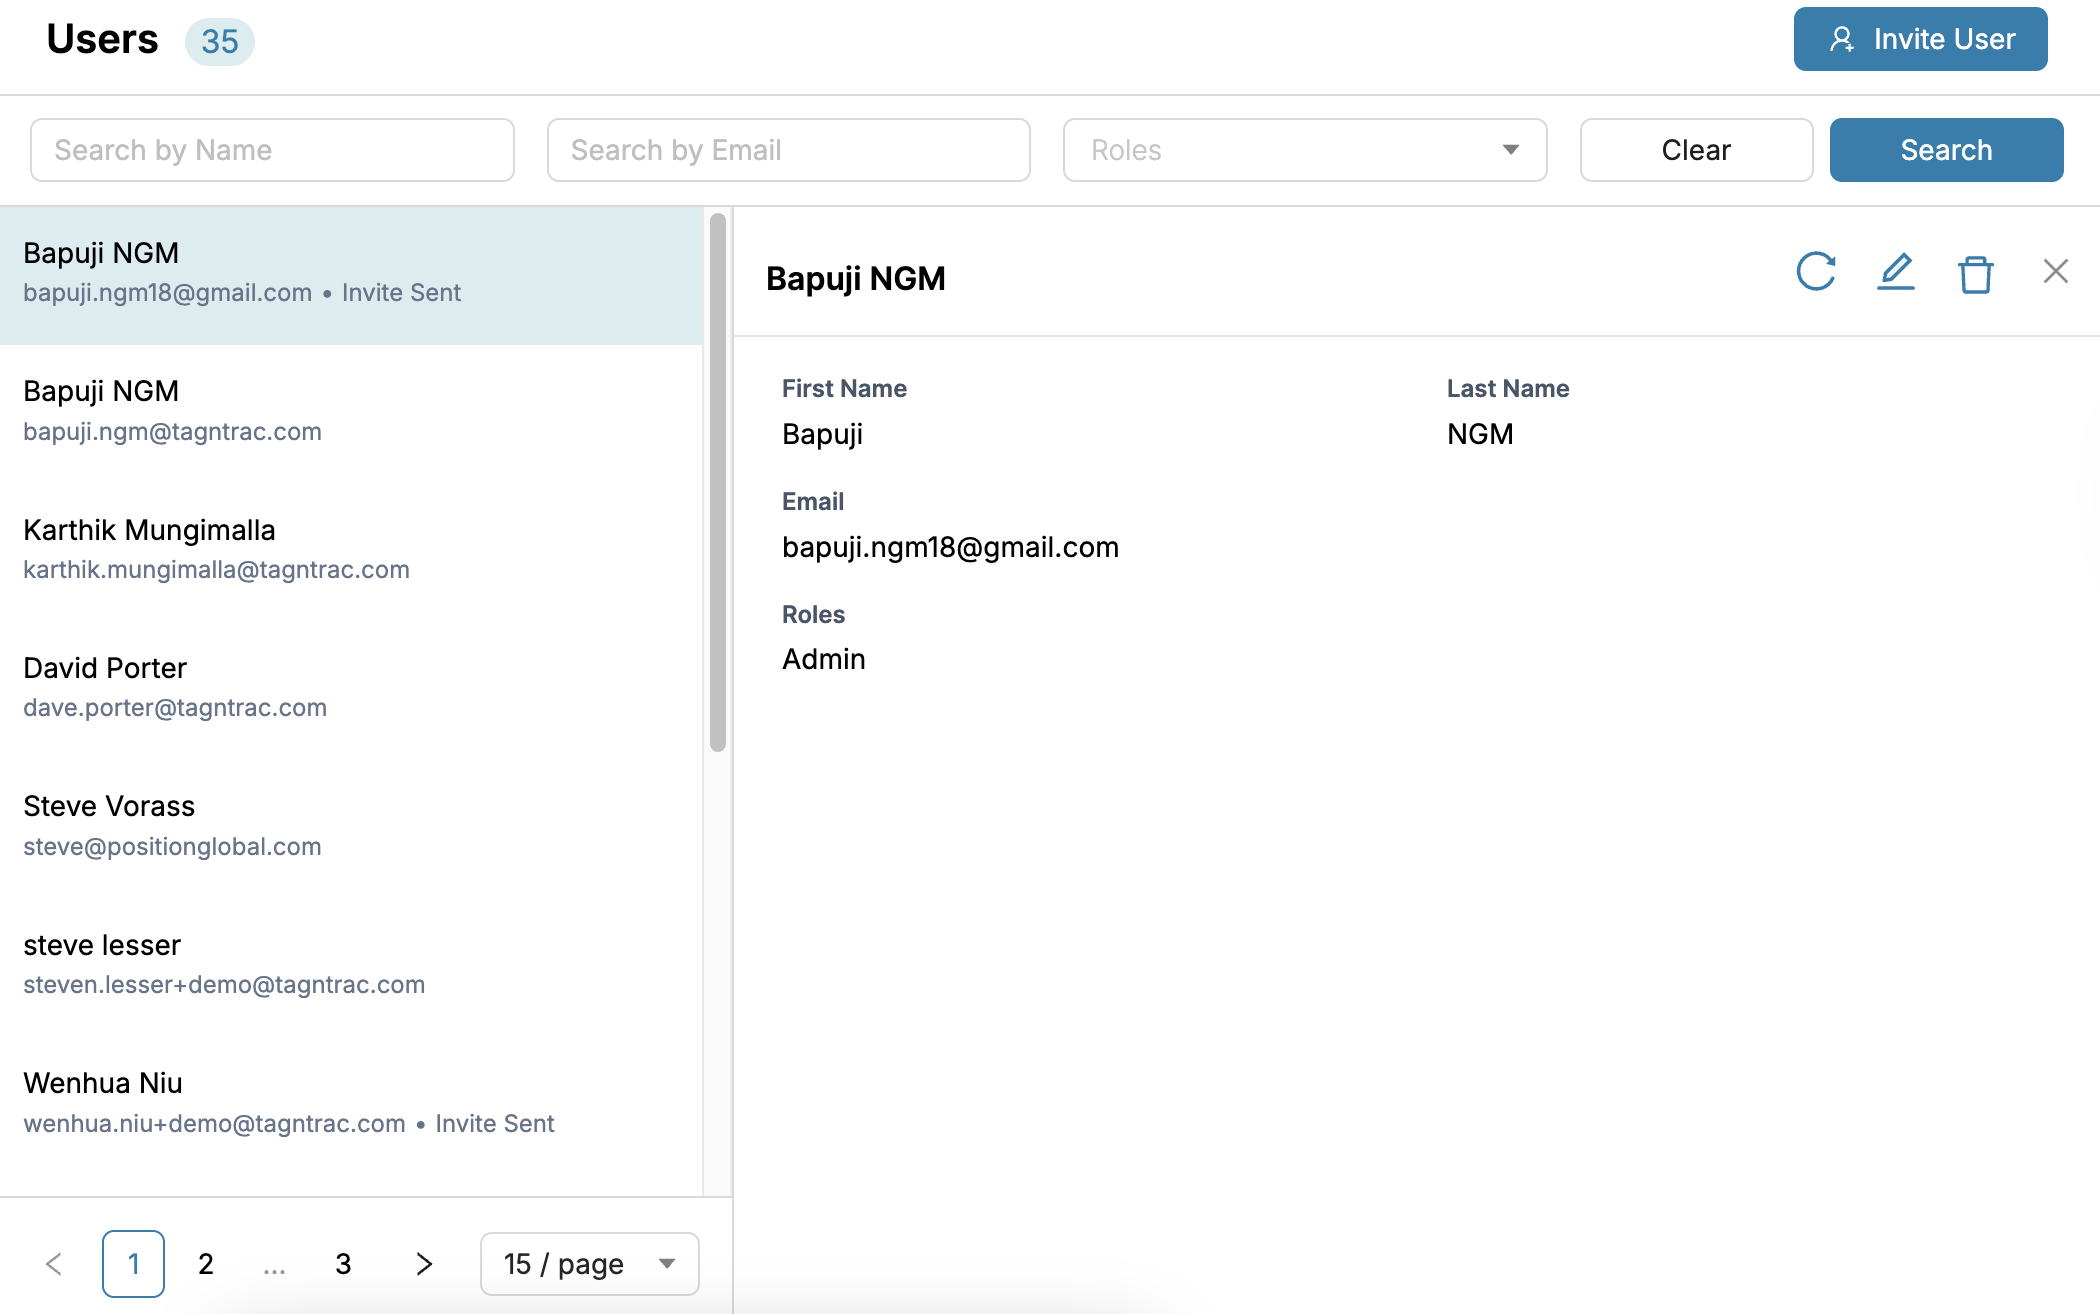
- The detail window shows:
- First Name
- Last Name
- Roles
- Actions Buttons (dependent on user status)
Action Buttons by User Status
For Invited Users (Invite Not Accepted)

- Resend Invite: Sends a new invitation to the user's email address.
- Delete Invite: Withdraws and deletes the invitation.
- Edit: Allows you to change the first and last name, but not the email ID.
- Close: Closes the detail view window.
For Registered Users (Invite Accepted)

- Edit: Allows changing only the first and last name.
- Close: Closes the detail view window.
Action Details
- Resend Invite: Sends another invitation email to the invitee.
- Delete Invite: Cancels the invitation, removing the user from the list.
- Edit: Enables updates to first and last name, but not the email ID.
Roles
The Roles tab in the Users submodule displays detailed descriptions of each access role available on the platform.
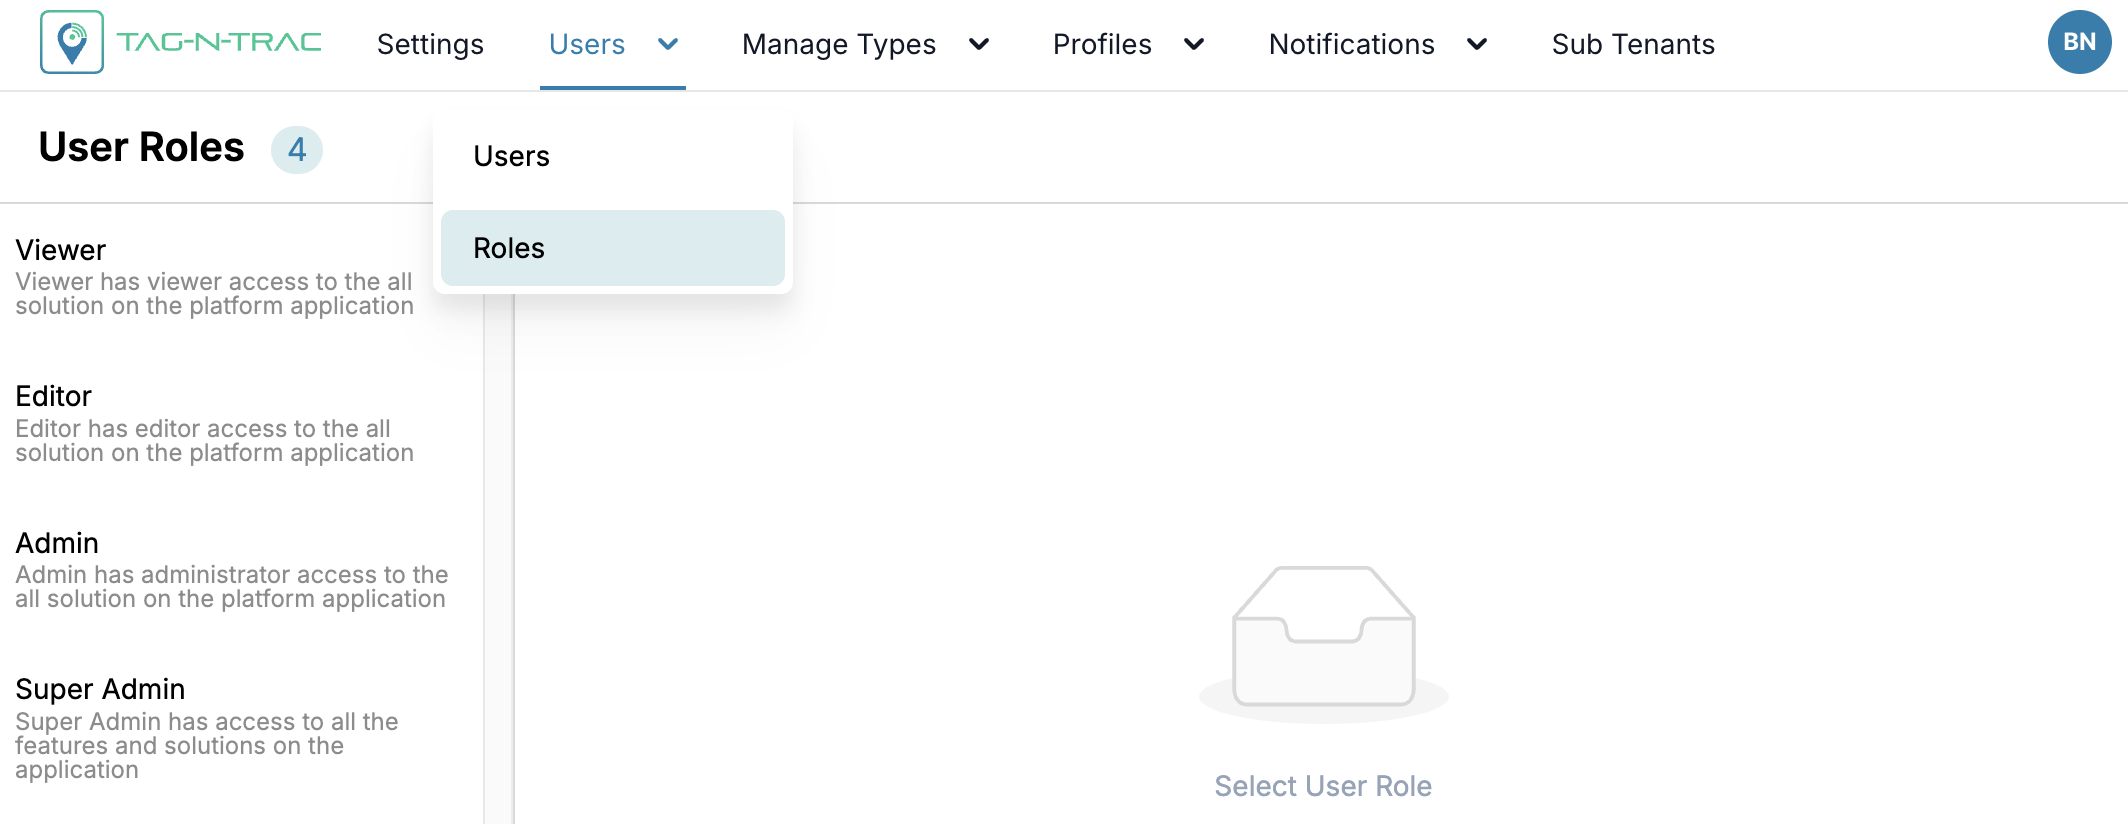
Viewer: Has viewer access to all solutions on the platform application.
Editor: Has editor access to all solutions on the platform application.
Admin: Has administrator access to all solutions on the platform application.
Super Admin: Has access to all the features and solutions on the application.
When you select a specific role from the list, the right pane shows its role name and a more descriptive summary of its permissions. This helps administrators clearly understand and manage the different levels of user access within the application.
Updated 11 months ago