Settings
The Settings module provides a centralized location for managing all platform-related configurations. Administrators can easily access, update, and control essential settings, streamlining operations and improving efficiency.
Accessing Settings
Click the Manage (⚙️) icon on the top-right corner of the platform to access the Settings Menu.
Settings Submodule
Settings Menu — Overview
The Settings menu is organized into distinct tabs, each designed to manage a specific aspect of platform configuration:
- Overview: Provides a high-level summary of current configurations and system status.
- Preferences: Customize default system behaviors, user settings.
- Branding: Configure visual elements such as logos, color themes, and brand identity settings.
- SSO Login: Set up and manage Single Sign-On (SSO) authentication options.
- API Keys: Generate, view, and manage API keys for secure integration with external systems.
Overview
The Overview tab in the Settings submodule provides a centralized display of tenant-level information.
What Administrators Can Do
Administrators can view and update the following details:
- Tenant email address
- Designated owner or administrator
- Contact information (e.g., business name, phone number, physical address)
Note: Only users with administrative permissions can edit tenant details in this tab.
Accessing the Overview Tab
To open the Overview tab:
- Navigate to the Manage module in the main menu.
- Select Settings.
- Click on the Overview tab.
Tab Sections and Details
The Overview tab is divided into key sections that present organizational metadata. Administrators can view and verify tenant-level details from a centralized interface.
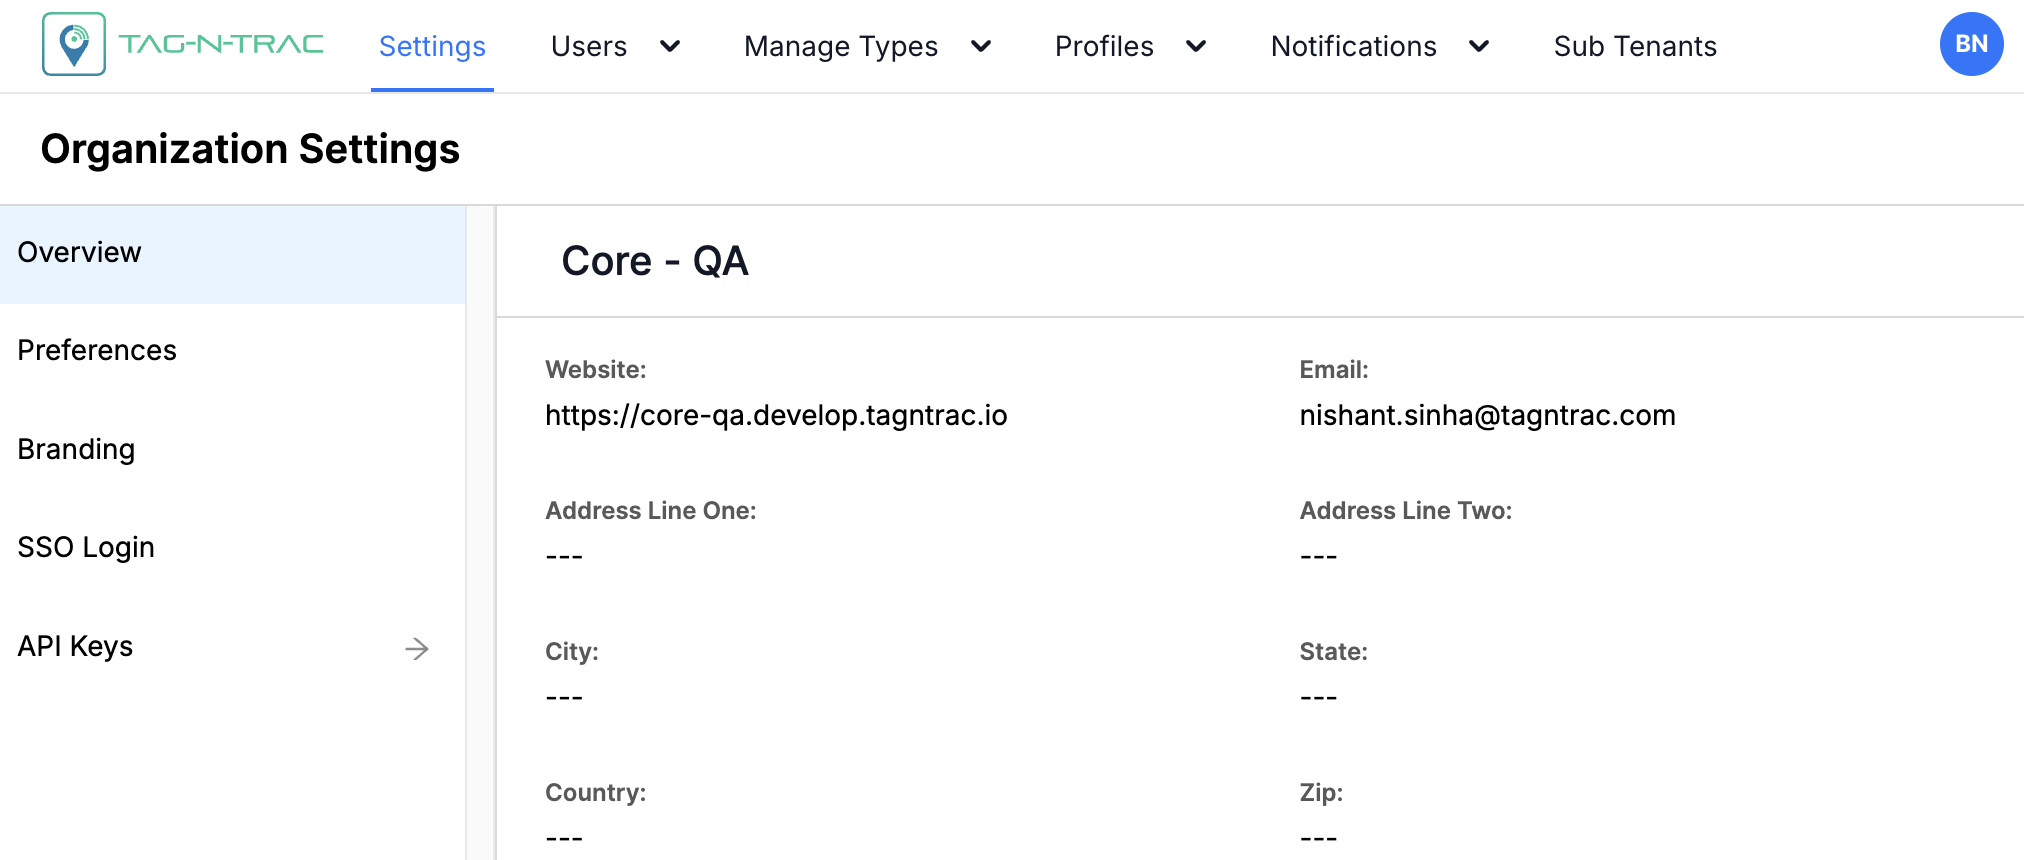
Overview Information
This section displays core details about your organization or tenant:
- Name: Official name of the organization or tenant.
- Application URL: Primary Tenant URL.
- Email: Main contact email address for the organization or tenant administrator.
- Address Line 1 / Line 2: Physical address details (these fields may appear empty if not yet populated).
- City / State / ZIP / Country: Geographic location details (may also be empty if not configured).
Tip: Keeping this information accurate ensures proper communication and regulatory compliance.
User Actions
On the Overview tab, users can:
- View organizational and tenant information.
- Verify contact and ownership details.
- Confirm that administrative data is complete and up to date.
This tab provides a single location to review and validate key tenant metadata.
Preferences
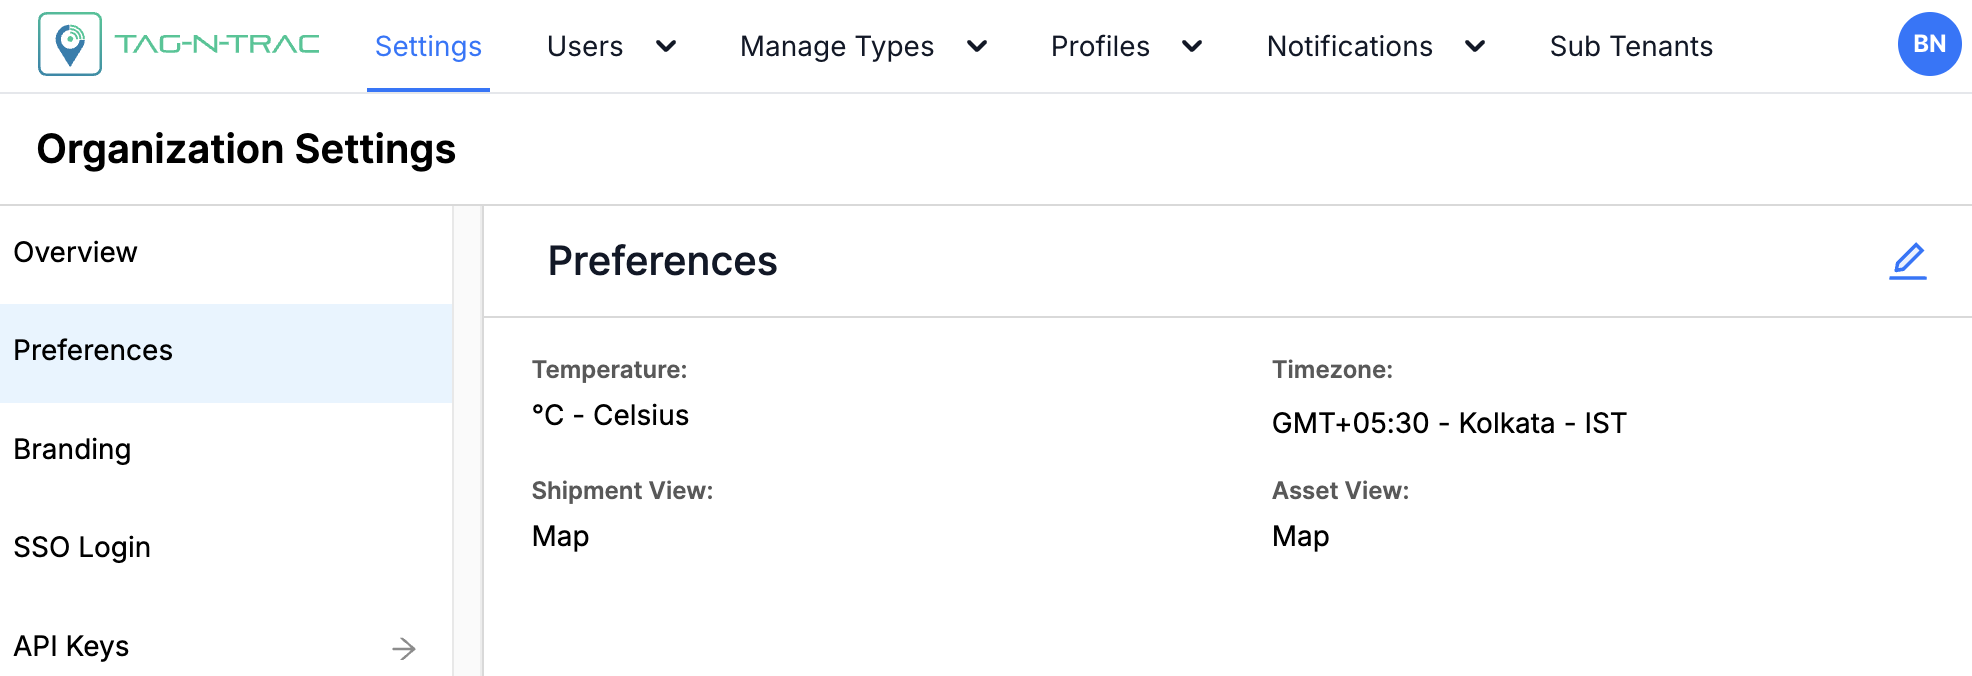
The Preferences tab in Settings allows you to customize how data is displayed across the platform. Personalization ensures the platform matches your operational and regional needs.
What You Can Customize
- Temperature scale (Example: Celsius or Fahrenheit)
- Timezone
- Default views for shipments and assets
Why It Matters
Adjusting preferences helps you:
- View information in familiar formats
- Align data with regional standards
- Improve efficiency in daily operations
Accessing the Preference Tab
To open the Preference tab:
- Navigate to the Manage module in the main menu.
- Select Settings.
- Click on the Preference tab.
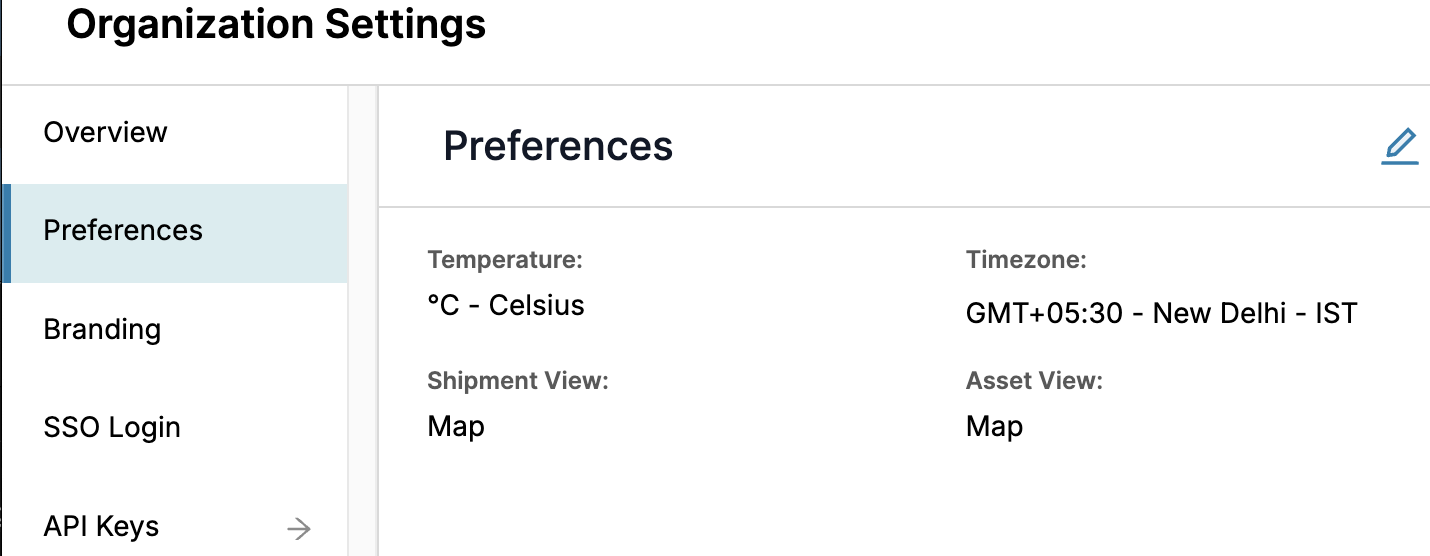
Available Preferences
The Preferences tab lets administrators configure default system settings for a consistent user experience across the platform.
| Setting | Description | Options |
|---|---|---|
| Temperature Scale | Choose the unit used for measuring temperature. Useful for global operations with varying standards. |
|
| Timezone | Sets the default system timezone for timestamps and scheduled events. |
|
| Shipment View | Controls the default layout for the shipments list. |
|
| Assets View | Controls the default layout for the assets list. |
|
Tip: Use Map View for logistics and fleet tracking, and List View for quick filtering and reporting.
Modify Preferences
To modify your preferences:
- Go to the Preferences tab.
-
Click the Edit icon (✏️) in the upper-right corner.
-
Select your preferred value for each setting. Note that all fields in the Preferences tab are required.
-
Click Save Changes to apply the updates.
-
To discard your changes, click Cancel.

-
Best Practices
- Choose temperature units and timezones that match your regional standards to avoid confusion.
- Use Map View for monitoring physical locations and routes; use List View for detailed filtering and performance reviews.
- Review preferences regularly to ensure settings evolve with organizational needs.
Branding
The Branding tab enables Super Admin users to customize the platform’s appearance to align with their organization’s brand identity.
What You Can Customize
- Logo: Upload your organization’s logo
- Primary brand color: Select the color applied to key interface elements
Why It Matters
Customizing branding allows you to:
- Align the platform with your organization’s visual identity
- Create a consistent and professional experience for all users
- Strengthen brand recognition across the platform
Accessing the Branding Tab
To open the Branding tab:
- Go to the Manage module in the main navigation.
- Select Settings.
- Click the Branding tab.
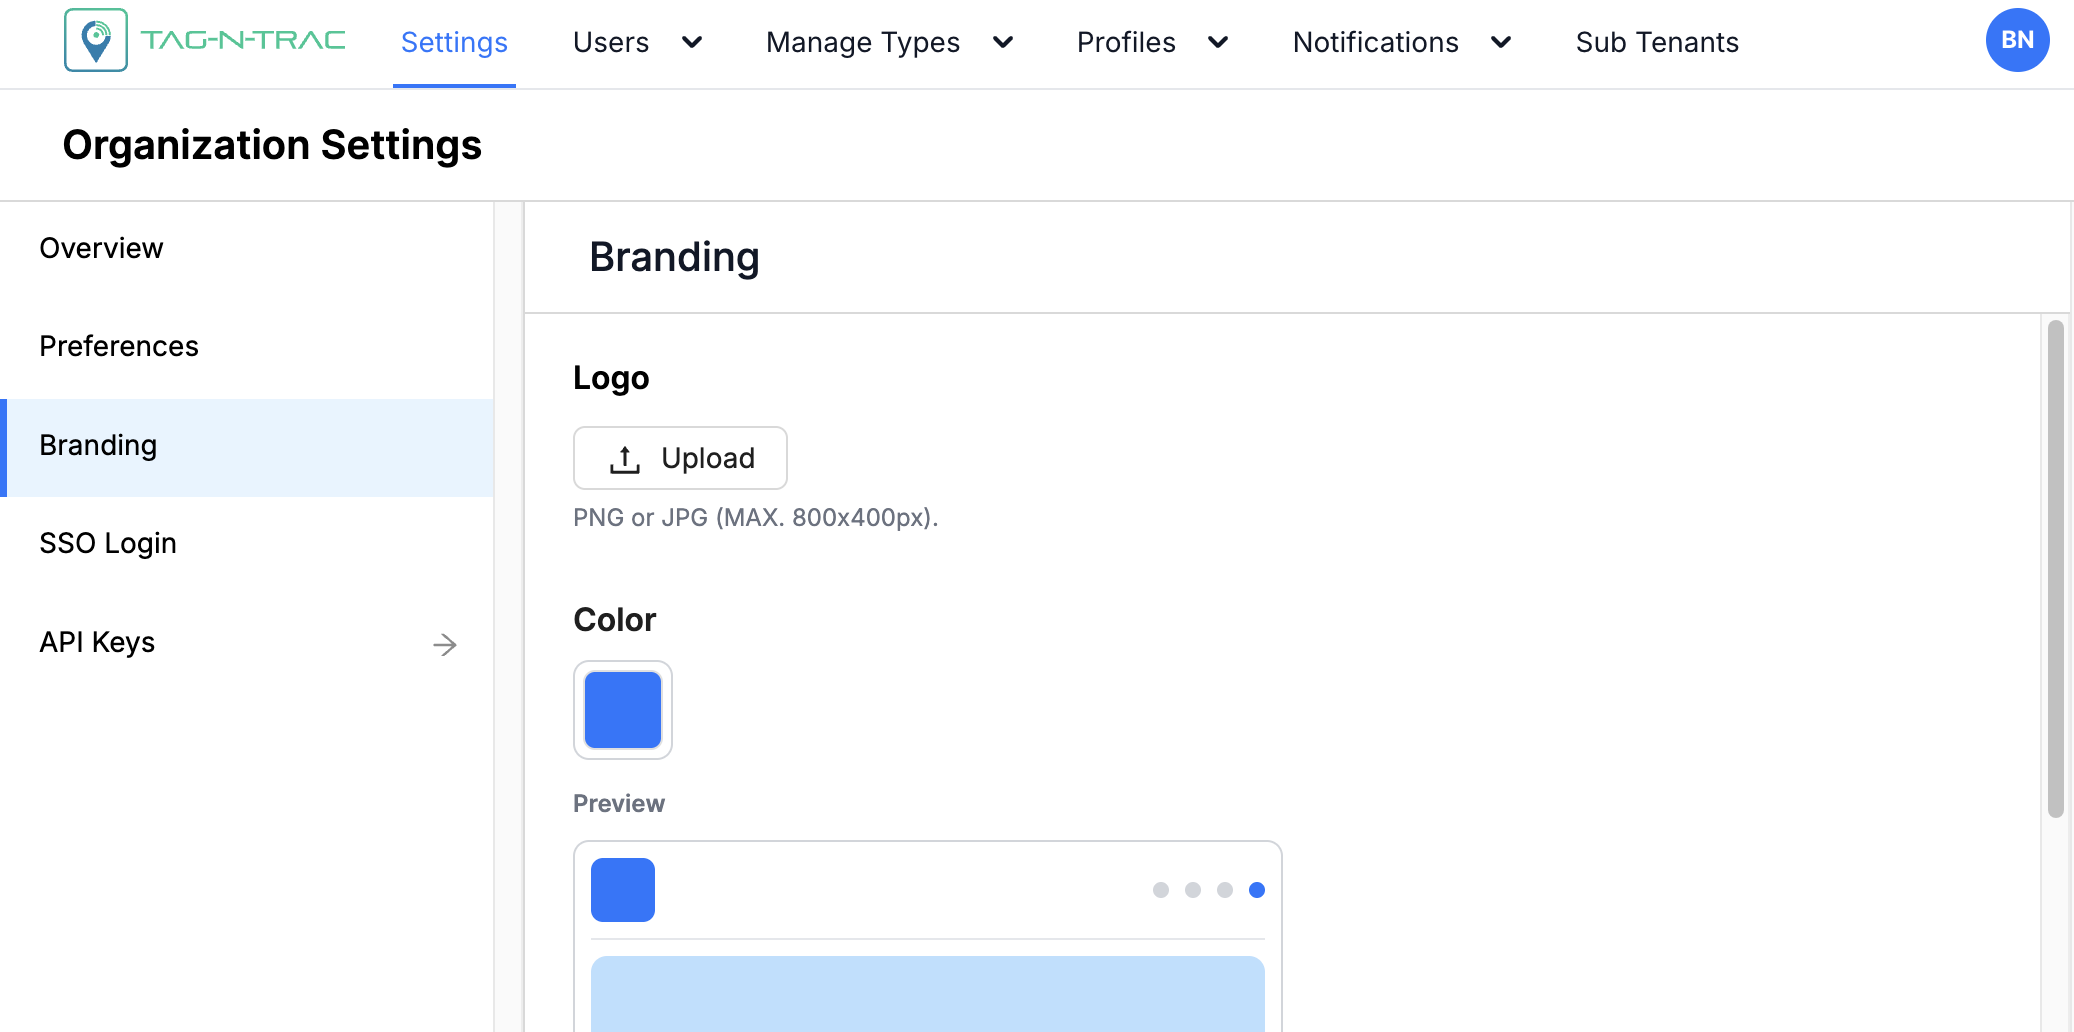
Customizing the Logo
To update the logo displayed in the upper-left corner of the platform:
- Click the Upload button.
- Choose an image file from your system.
Supported formats and guidelines:
- File types: PNG or JPG
- Recommended size: 800 × 400 pixels
- Use a high-resolution image for optimal display on all screen sizes.
Setting the Primary Brand Color
You can define the platform’s primary color, which is used for interface elements such as buttons, headers, and highlights.
To update the color:
- Click the color box to open the color picker.
- Use the palette to choose a color or enter a specific HEX code (e.g.,
#7C95AE) for precise control. - A live Preview displays how the selected color will appear in the UI.
Reset to Default
Use the Reset to Default option to restore the original brand color provided by TagNTrac.
To reset the branding color to default:
-
Click Reset Default.
-
A confirmation popup will appear with the following message:
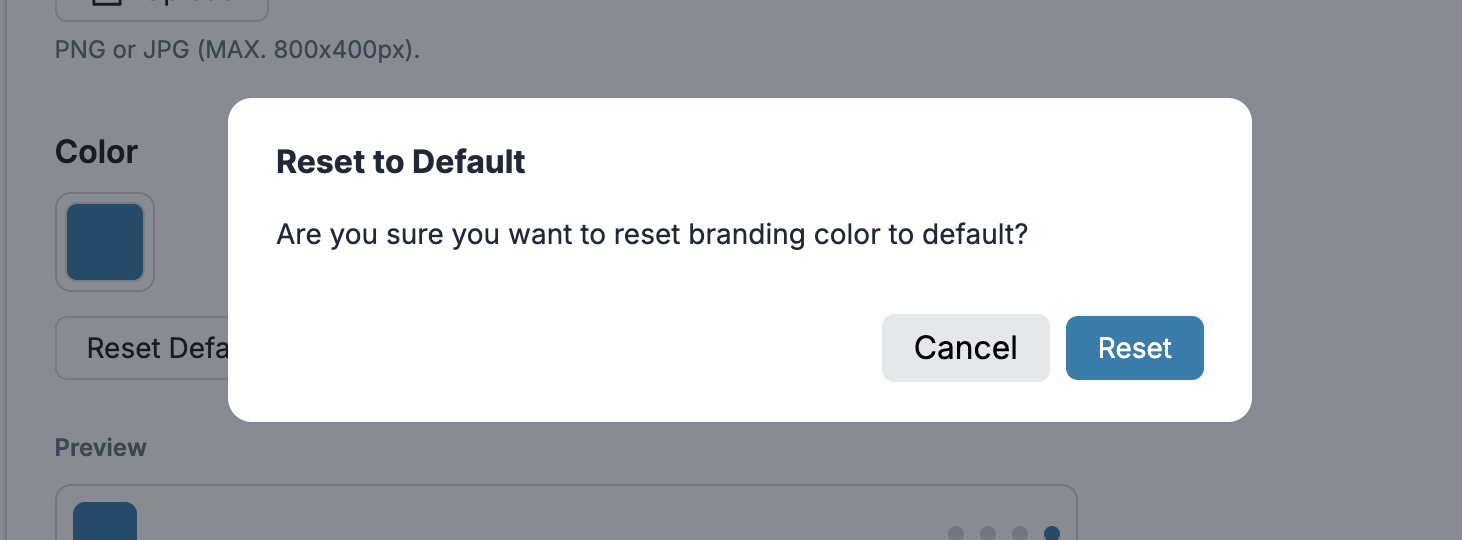
-
Choose one of the following options:
- Cancel – Close the popup without making any changes.
- Reset – Confirm the action and restore the default brand color.
Saving or Canceling Changes
- Click Save Changes to apply your new branding settings.
- Click Cancel to discard changes and retain the previous configuration.
Tip: Choose a color and logo that align with your organization's brand guidelines for visual consistency across internal and external systems.
SSO Login
The Single Sign-On (SSO) feature enables users to access the Relativity Platform using one set of login credentials, simplifying the login process while strengthening overall security through centralized authentication.
SSO reduces password fatigue and supports enforcement of security policies such as:
- Multi-factor authentication (MFA)
- Password rotation
- Session management
Accessing the SSO Login Tab
To open the SSO Login tab:
- Go to the Manage module in the main navigation.
- Select Settings.
- Click the SSO Login tab.
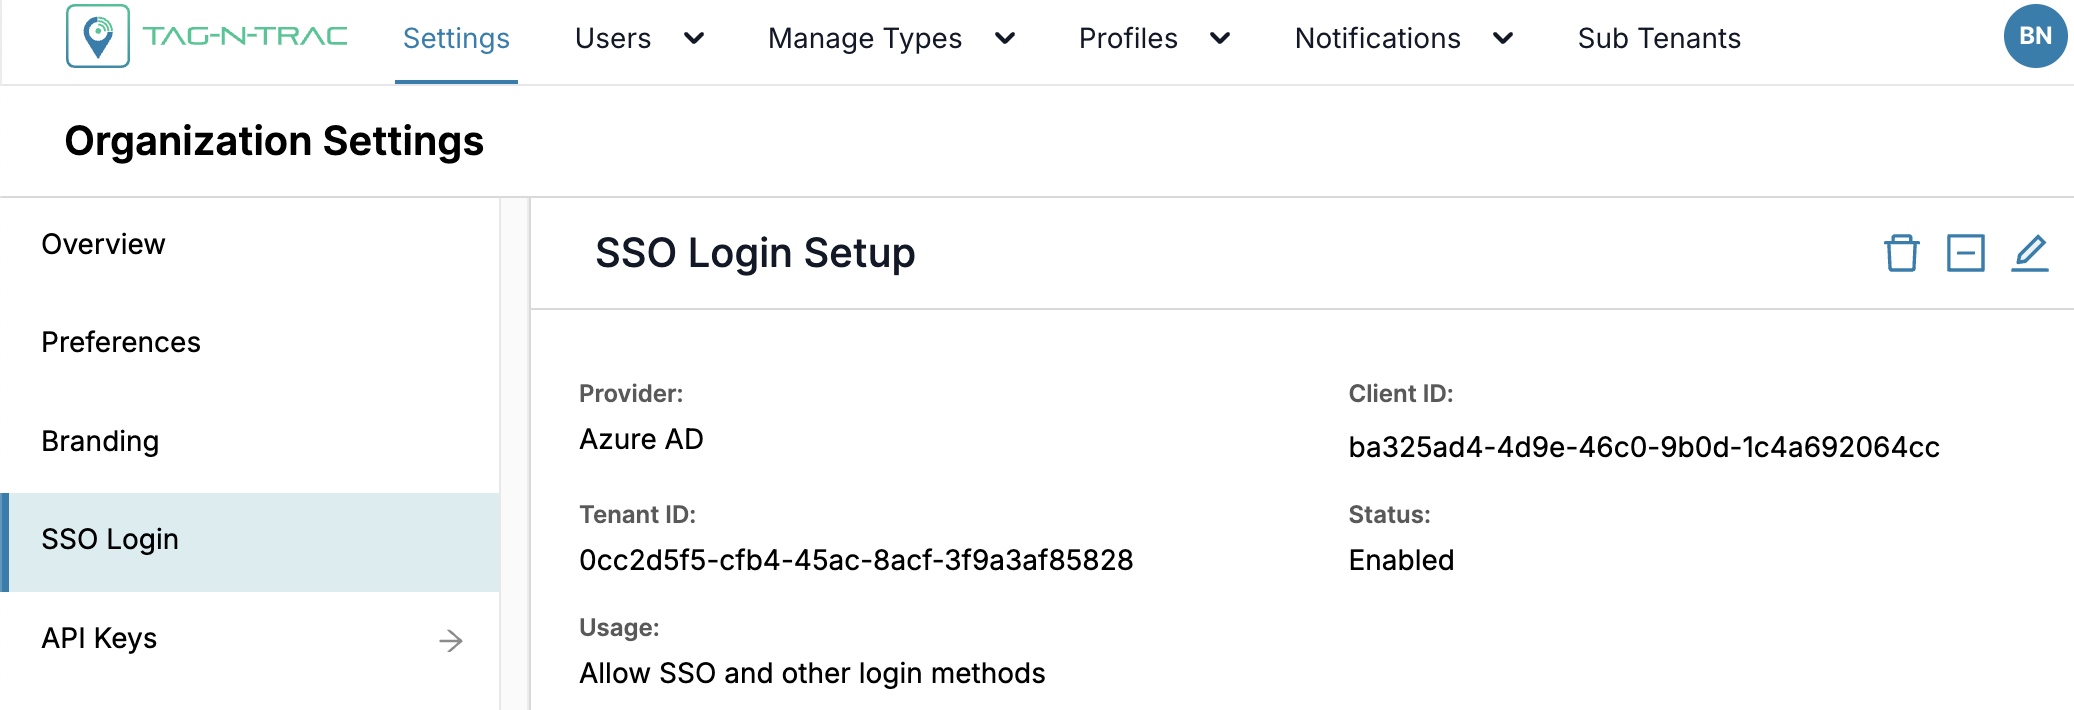
If SSO was selected during account setup, your credentials will be displayed in the SSO Login tab under the Settings module, as shown in the previous figure.
For guidance on how to sign in with SSO, refer to the topic 🔗 Logging in with SSO.
Note: To configure or update your SSO credentials, contact Technical Support.
API Keys
The API Keys feature allows you to securely connect external applications or services with the Relativity pPlatform. Each API key serves as a credential that grants controlled access to specific APIs, based on the permissions you assign. Administrators can create, view, edit, and disable keys directly within the platform.
Key Capabilities
- Secure Authentication: Use keys as credentials for external integrations.
- Granular Permissions: Define access at the module and sub-module level.
- Lifecycle Management: Create, update, and disable keys as needed.
- Expiration Control: Assign validity periods (7 days, 30 days, 6 months, 1 year, or Never).
When to Use API Keys
API Keys are recommended when:
- You need to integrate third-party systems with the platform.
- You want to automate data retrieval or updates through APIs.
- You need to grant limited access to external teams or applications.
Accessing the API Keys Tab
To open the API Keys tab:
- Go to the Manage module in the main navigation.
- Select Settings.
- Click the API Keys tab.
API Keys Tab
Creating an API Key
You can create an API key to securely integrate external applications or services with the platform. During creation, you define the key’s name, expiration, description, and permissions to control how it can be used.
Creating API Keys
- Click + Create API Key.
- In the Create API Key window, provide the following:
- API Name: Enter a descriptive name that helps identify the key (Example: Cold Chain Monitoring).
- Expiration: Select how long the key will remain valid:
- 7 days
- 30 days
- 6 months
- 1 year
- Never (no expiration)
- Description: Add details about the key’s use case or owner (Example: Used by logistics team for shipment tracking).
- Under Permissions:
- Search By: Quickly locate permissions by keyword.
- Select Module: Filter permissions by module (Example: Shipment Tracking, Cold Chain).
- Select Sub-Module: Narrow down to specific areas (Example: Shipments, Carriers, Assets, Device Health).
- Permissions List: A table displays available permissions, organized by category. Each row shows:
- Permission Name: A technical identifier (Example:
track:create:assets). - Permission Details: Human-readable description of what the permission allows (Example: Permission to create assets on track).
- Module: The area of the platform where the permission applies (Example: Shipment Tracking).
- Permission Name: A technical identifier (Example:
- Select the checkboxes for the permissions you want to assign to the key.
- Click Save Changes to generate the new key. The system will create and display the API key string.
- Click Cancel to close the window without saving.
Note: Any data you entered will be lost.
Using an API Key
After successfully creating an API key, you can begin using it to authenticate and interact with the platform’s APIs.

Copying API Key
- Once generated, the platform provides a unique API Key string.
- Copy this value securely — it is required for authenticating API calls.
- To copy the key, click the copy icon next to the key.
- Use the key to retrieve or send data through the APIs corresponding to the permissions you selected.
API Key List
When you open the API Keys tab, a list of existing keys is displayed in a table. If no keys have been created yet, you’ll see a message prompting you to create one.
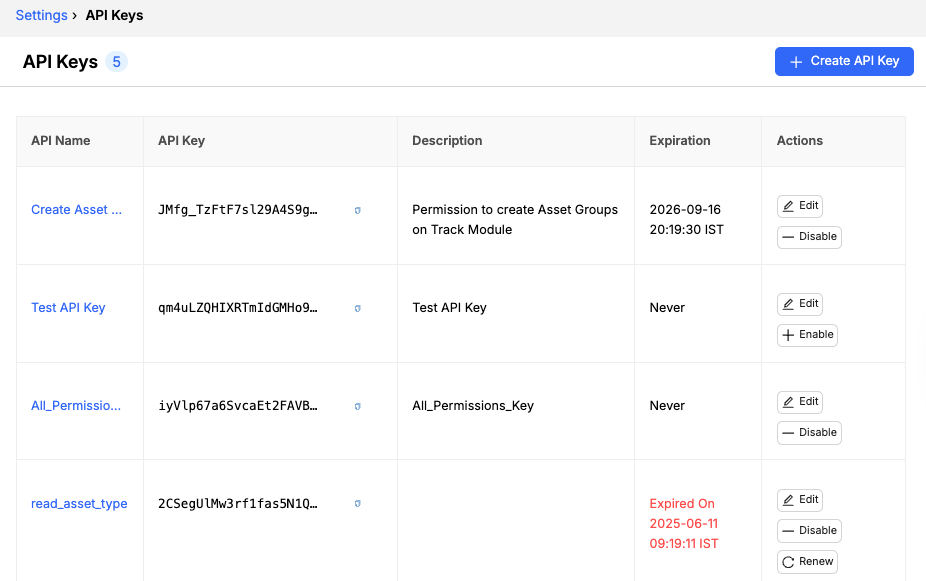
API Keys List
Each entry in the list includes:
| Field | Description |
|---|---|
| API Name | A user-defined label that describes the key’s purpose (Example: Test API, Shipment Integration Key). |
| API Key | The unique string generated by the platform. This value is used by external systems to authenticate API calls. |
| Description | An optional field that provides additional context (Example: Used for integrating with ERP system). |
| Expiration | Shows when the key will expire (Example: 7 days, 30 days, 6 months, 1 year, Never). |
| Actions | Options to manage the key:
|
Viewing API Key Details
You can view the details of any API key to check its configuration, expiration, and assigned permissions.
Viewing API Key Details
Perform the following steps to view details of an API key:
- Navigate to the API Keys list.
- Click the API Name link of the key you want to view.
- The API Key Details page displays:
- API Name
- API Key
- Description
- Expiration
- Assigned Permissions
Editing an API Key
You can edit an existing API key to update its information or adjust its permissions.
Editing an API Key
- From the API Key Details page, click the Edit button or pencil icon to update the key.
- Alternatively, in the API Keys list, use the pencil icon in the Actions column.
- You can update:
- API Name
- Description
- Expiration
- Permissions
Disabling an API Key
If an API key is no longer needed, you can disable it to immediately revoke its access.
Disabling an API Key
- From the API Key Details page, click the Disable button or — icon to disable the key.
- Alternatively, in the API Keys list, use the — icon in the Actions column.
- Click Cancel if you do not want to disable the key.
Once disabled, the key can no longer be used to access the platform.
Enabling an API Key
You can re-enable a previously disabled API key if it needs to be used again.
- From the API Keys list, locate the disabled key.
- Click Enable in the Actions column.
- The key will be restored and can be used to access the platform.
Renewing an API Key
If an API key is nearing expiration or has already expired, you can renew it to extend its validity without changing its configuration or permissions.
- From the API Keys list, locate the key you want to renew.
- Click Renew in the Actions column.
- In the Renew API Key pop-up window, select a new expiration duration from the Expiration dropdown menu.
- Click Renew to confirm.
- Click Cancel if you do not want to renew the key.
- Once renewed, the key’s expiration date is updated, and it remains active for the selected duration.
Best Practices
- Naming: Use meaningful names (e.g., Warehouse Integration API) to make management easier.
- Description: Always include context, such as the department or application using the key.
- Permissions: Assign only the minimum set of permissions needed (principle of least privilege).
- Expiration: Avoid selecting Never unless absolutely required. Shorter lifespans improve security.
- Security: Store keys securely and never expose them in public repositories or unsecured locations.
- Rotation: Regularly create new keys and retire old ones to minimize risk.
- Disabling: Immediately disable keys that are no longer in use.
Updated 10 months ago