Sub-Tenants
A Sub-tenant is a unique web address, typically a subdomain that provides access to an isolated environment for a specific client or customer within a multi-tenant SaaS application.
For example:
tenant.tagntrac.aiis a sub-tenant URL under the Relativity platform.
Subdomain-Based Access
Each sub-tenant is assigned a subdomain of the main application domain.
- Example:
tenant.tagntrac.ai
Customization
The customers can customise their subdomain to reflect their brand or organisation.
- Example:
mycompany.tagntrac.ai
Data Isolation
The sub-tenant URL ensures that users have access only to their own environment, with data and resources isolated from those of other tenants.
When a user signs in, the application backend routes requests to the correct tenant environment based on the subdomain.
Examples
customer.tagntrac.aitenant.tagntrac.aiprocurement.tagntrac.ai
Accessing Sub-Tenants Menu
To access the Sub-Tenants menu:
- Log in to the Relativity Platform.
- In the top-right corner, select the Manage (⚙️) icon.
- Choose Sub-Tenants from the menu to open the event types.
Creating a Sub-Tenant
Use the Sub-Tenants feature to create and manage individual sub-environments within your main tenant. Each sub-tenant has its own domain, users, and configurations.
Creating Sub-tenants
Prerequisites for Creating a Sub-Tenant
Before creating a new sub-tenant, ensure you have the following:
- Access to the Sub-Tenants page from the top navigation bar.
- The sub-domain name and administrator email address for the new sub-tenant.
Note: Only users with the Super Admin role have permission to access and manage the Sub-Tenants menu.
Steps to Create a Sub-Tenant
-
From the main menu, select Sub-Tenants.
-
Click + Create Sub-Tenant at the top-right corner of the page.
→ The Create Sub-Tenant form opens. -
Fill in the required fields:
Field Description Name Enter a unique name for the sub-tenant. Sub Domain Enter the sub-domain to be used in the application URL. Description Provide a brief summary of the sub-tenant’s purpose. Email Enter a valid contact email for support or communication. Application URL Auto-generated based on the sub-domain. This URL will be used to access the new sub-tenant. Timezone Select the appropriate timezone from the dropdown list. You can update this later within the sub-tenant platform. -
Review all fields for accuracy.
-
Click Create to finalize the sub-tenant setup.
- A confirmation pop-up appears with the message:
“Please verify the details carefully, as they cannot be edited later.”- Click Create to confirm and proceed with sub-tenant creation.
- Click Cancel to return to the form without saving changes.
- A confirmation pop-up appears with the message:
-
(Optional) Click Cancel on the main form to discard all entries and close the window.
Results
After creation, the new sub-tenant appears in the Sub-Tenants list with its Status set to Active.
Notes
- Subdomain URLs are generated automatically and cannot be edited once the sub-tenant is created.
- Use a clear naming convention for sub-tenants to simplify management across multiple environments.
Sub-Tenants List
When you open the Sub Tenants menu, the system displays a table of all existing sub-tenants.
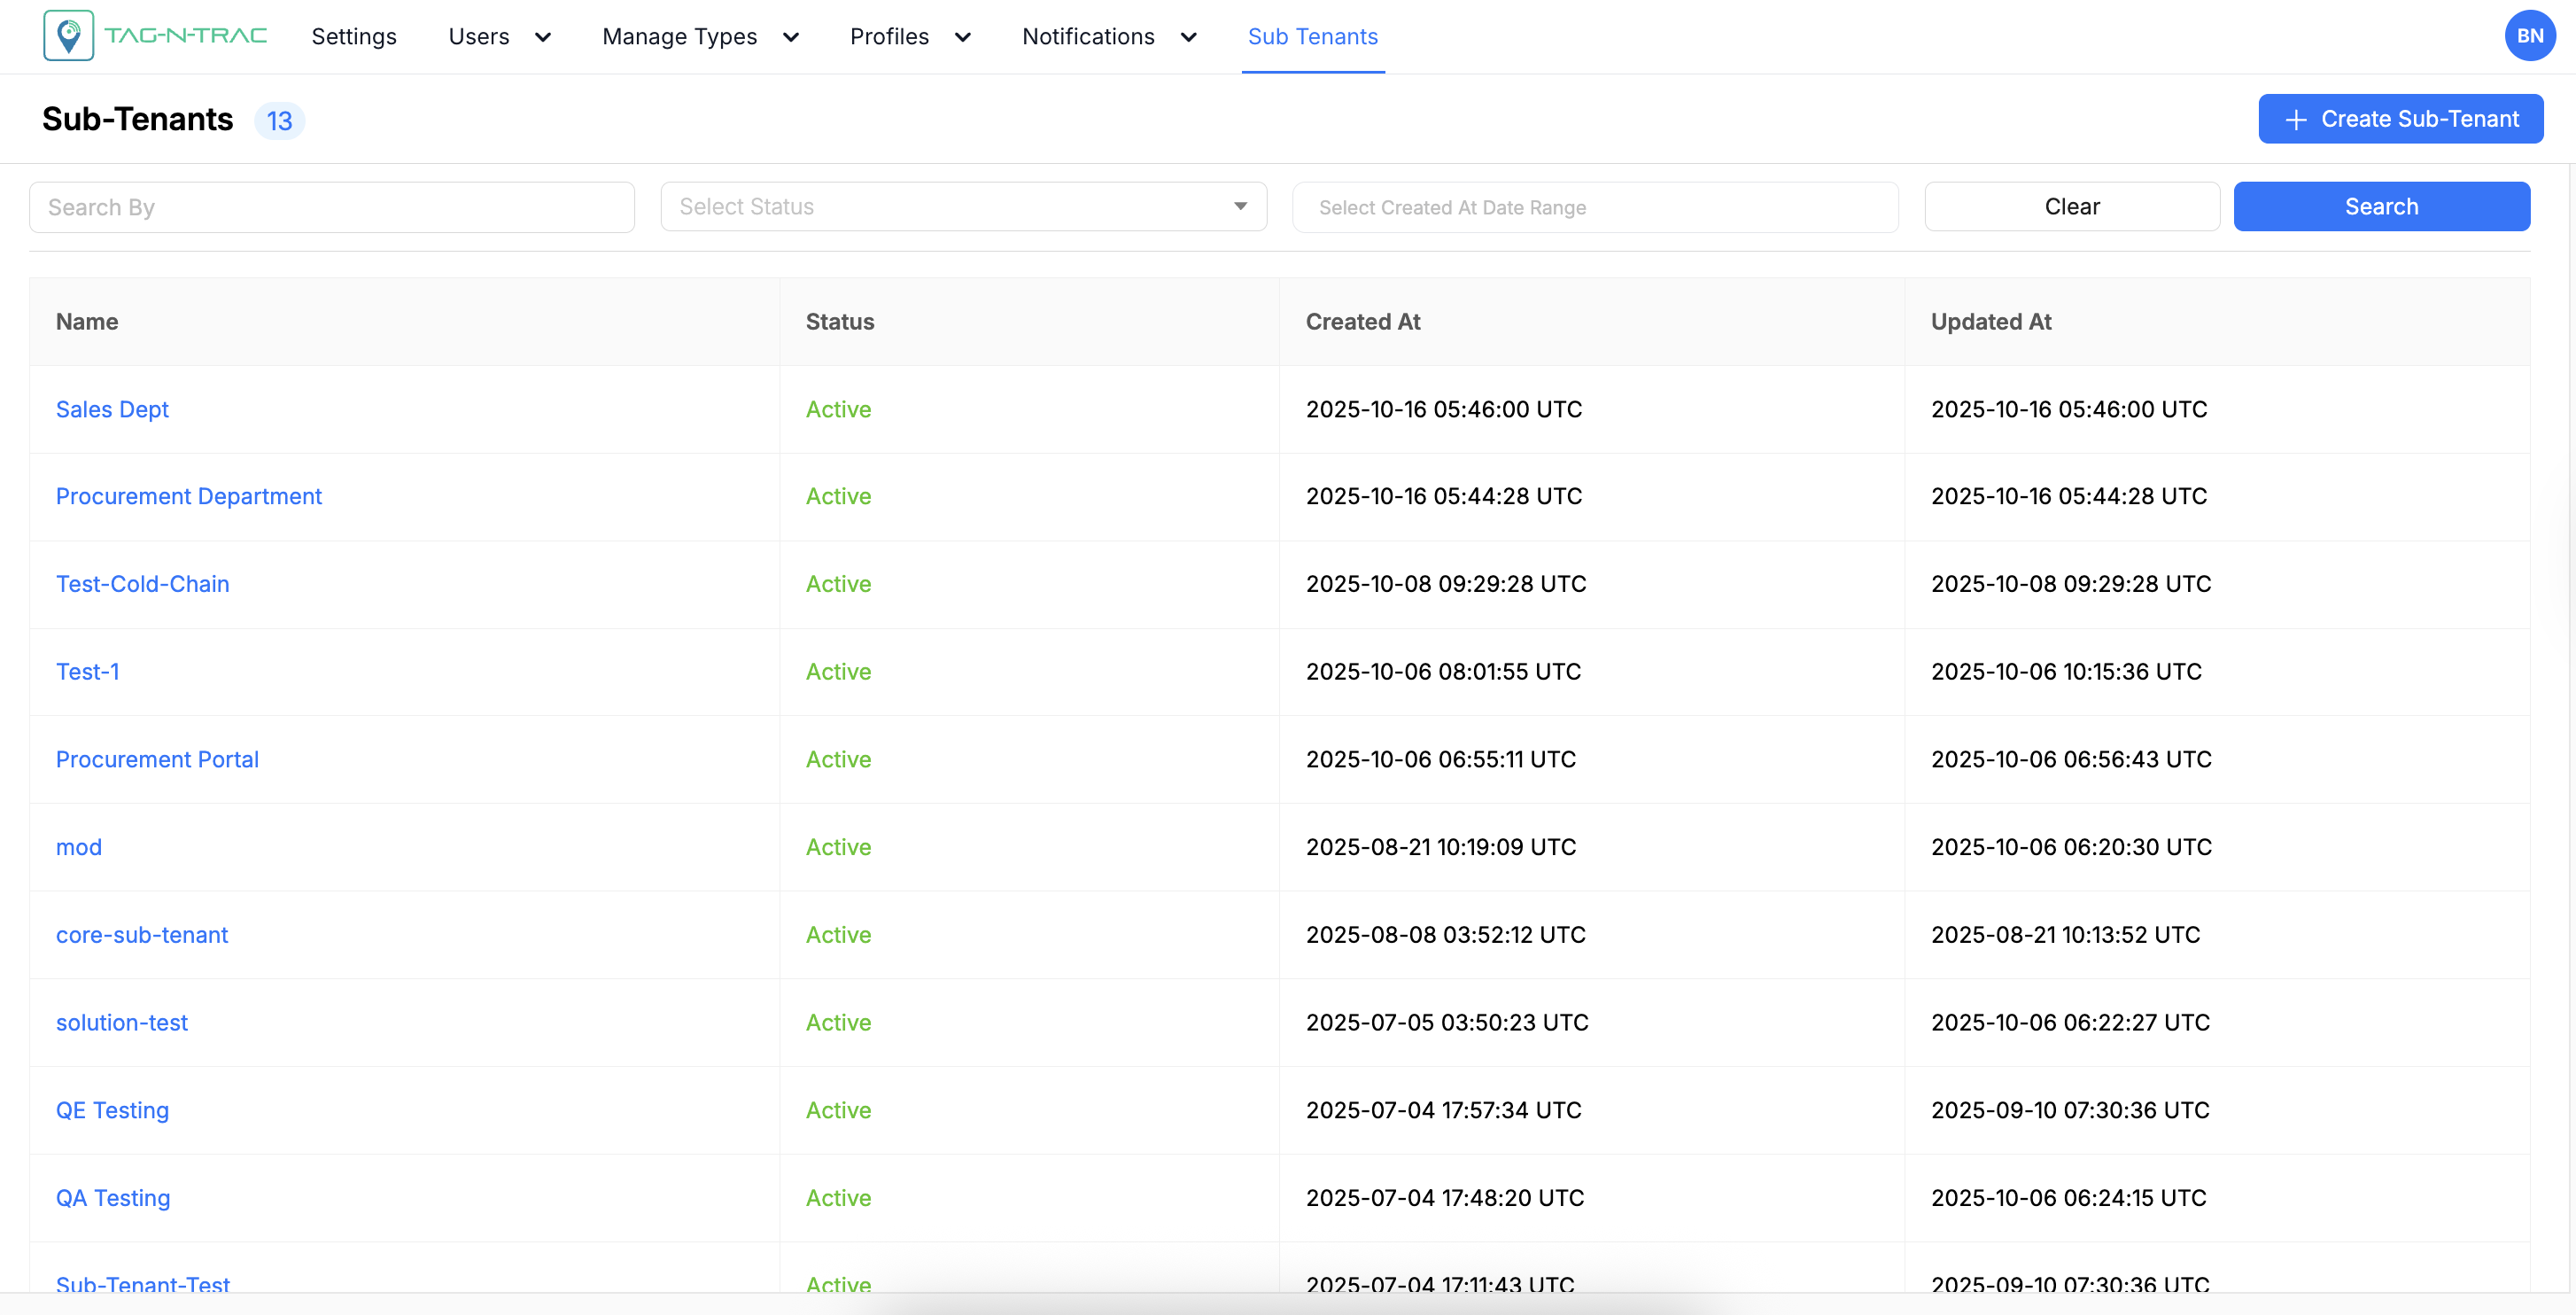
Sub-tenants List
If no sub-tenants exist, a message appears prompting you to create one.
Each row in the Sub Tenants table includes the following information:
| Column | Description |
|---|---|
| Name | The name of the sub-tenant (subdomain). |
| Status | Indicates whether the sub-tenant is active or inactive. Active sub-tenants are displayed in green, and inactive ones in red. |
| Created At | The date when the sub-tenant was created. |
| Updated At | The date when the sub-tenant was last updated. |
Viewing Sub-Tenants Details Page
You can view detailed information for any Sub-Tenant to review its configuration, users, devices, and settings.
Use the search field to quickly locate a specific sub-tenant in the list, or scroll through the list manually to find it.
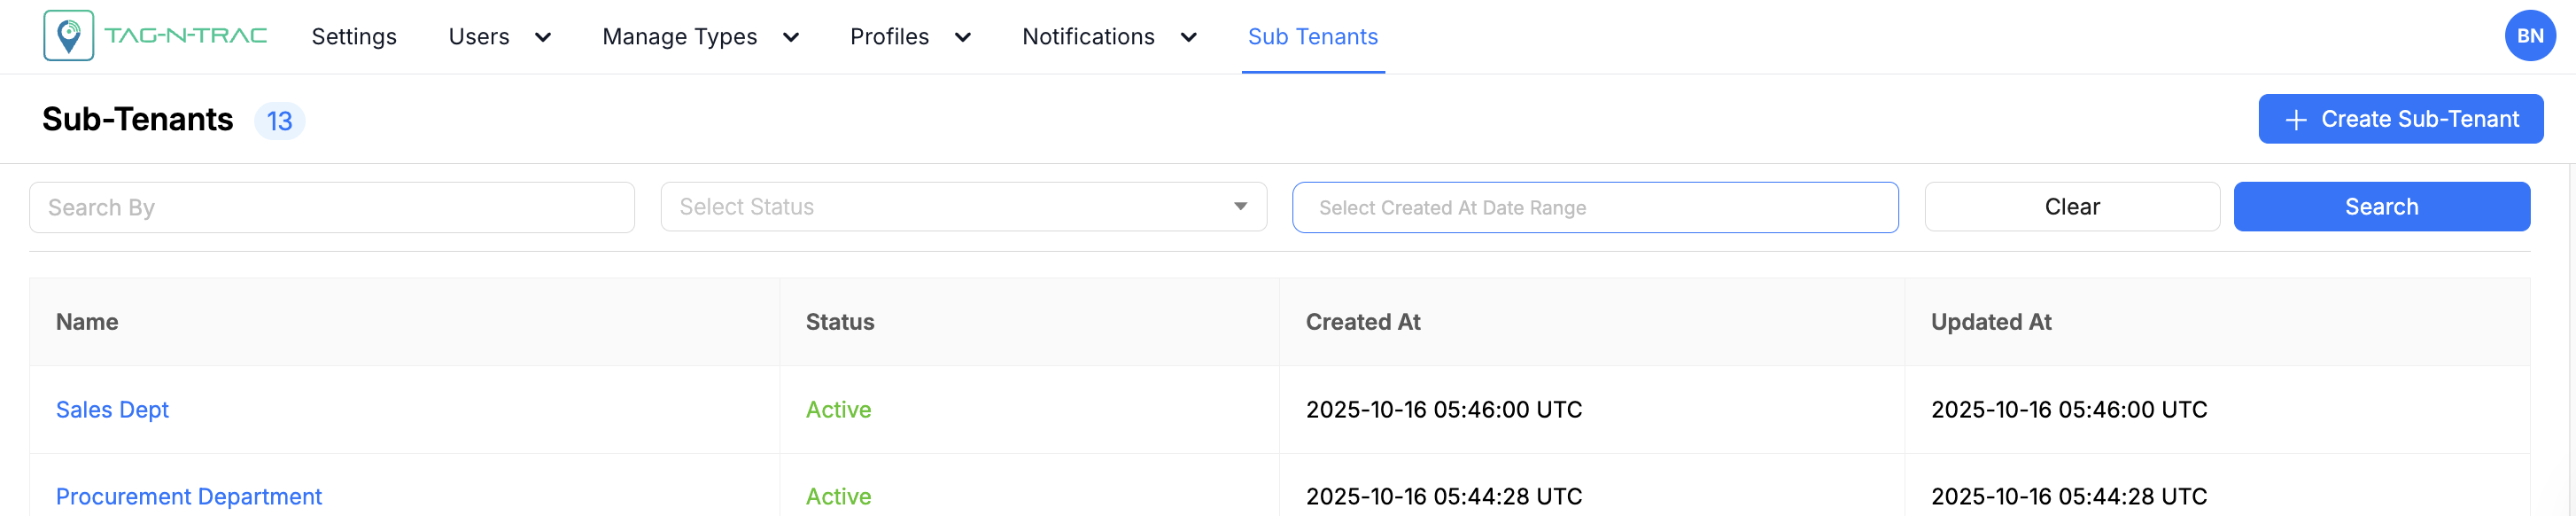
Sub-Tenants Search Fields
Follow these steps to view details of Sub-tenants:
-
Navigate to the Sub Tenants menu.
-
Click a sub tenant Name that you want to view.
-
The Sub-Tenant Details page displays the following information, as shown in the figure below:
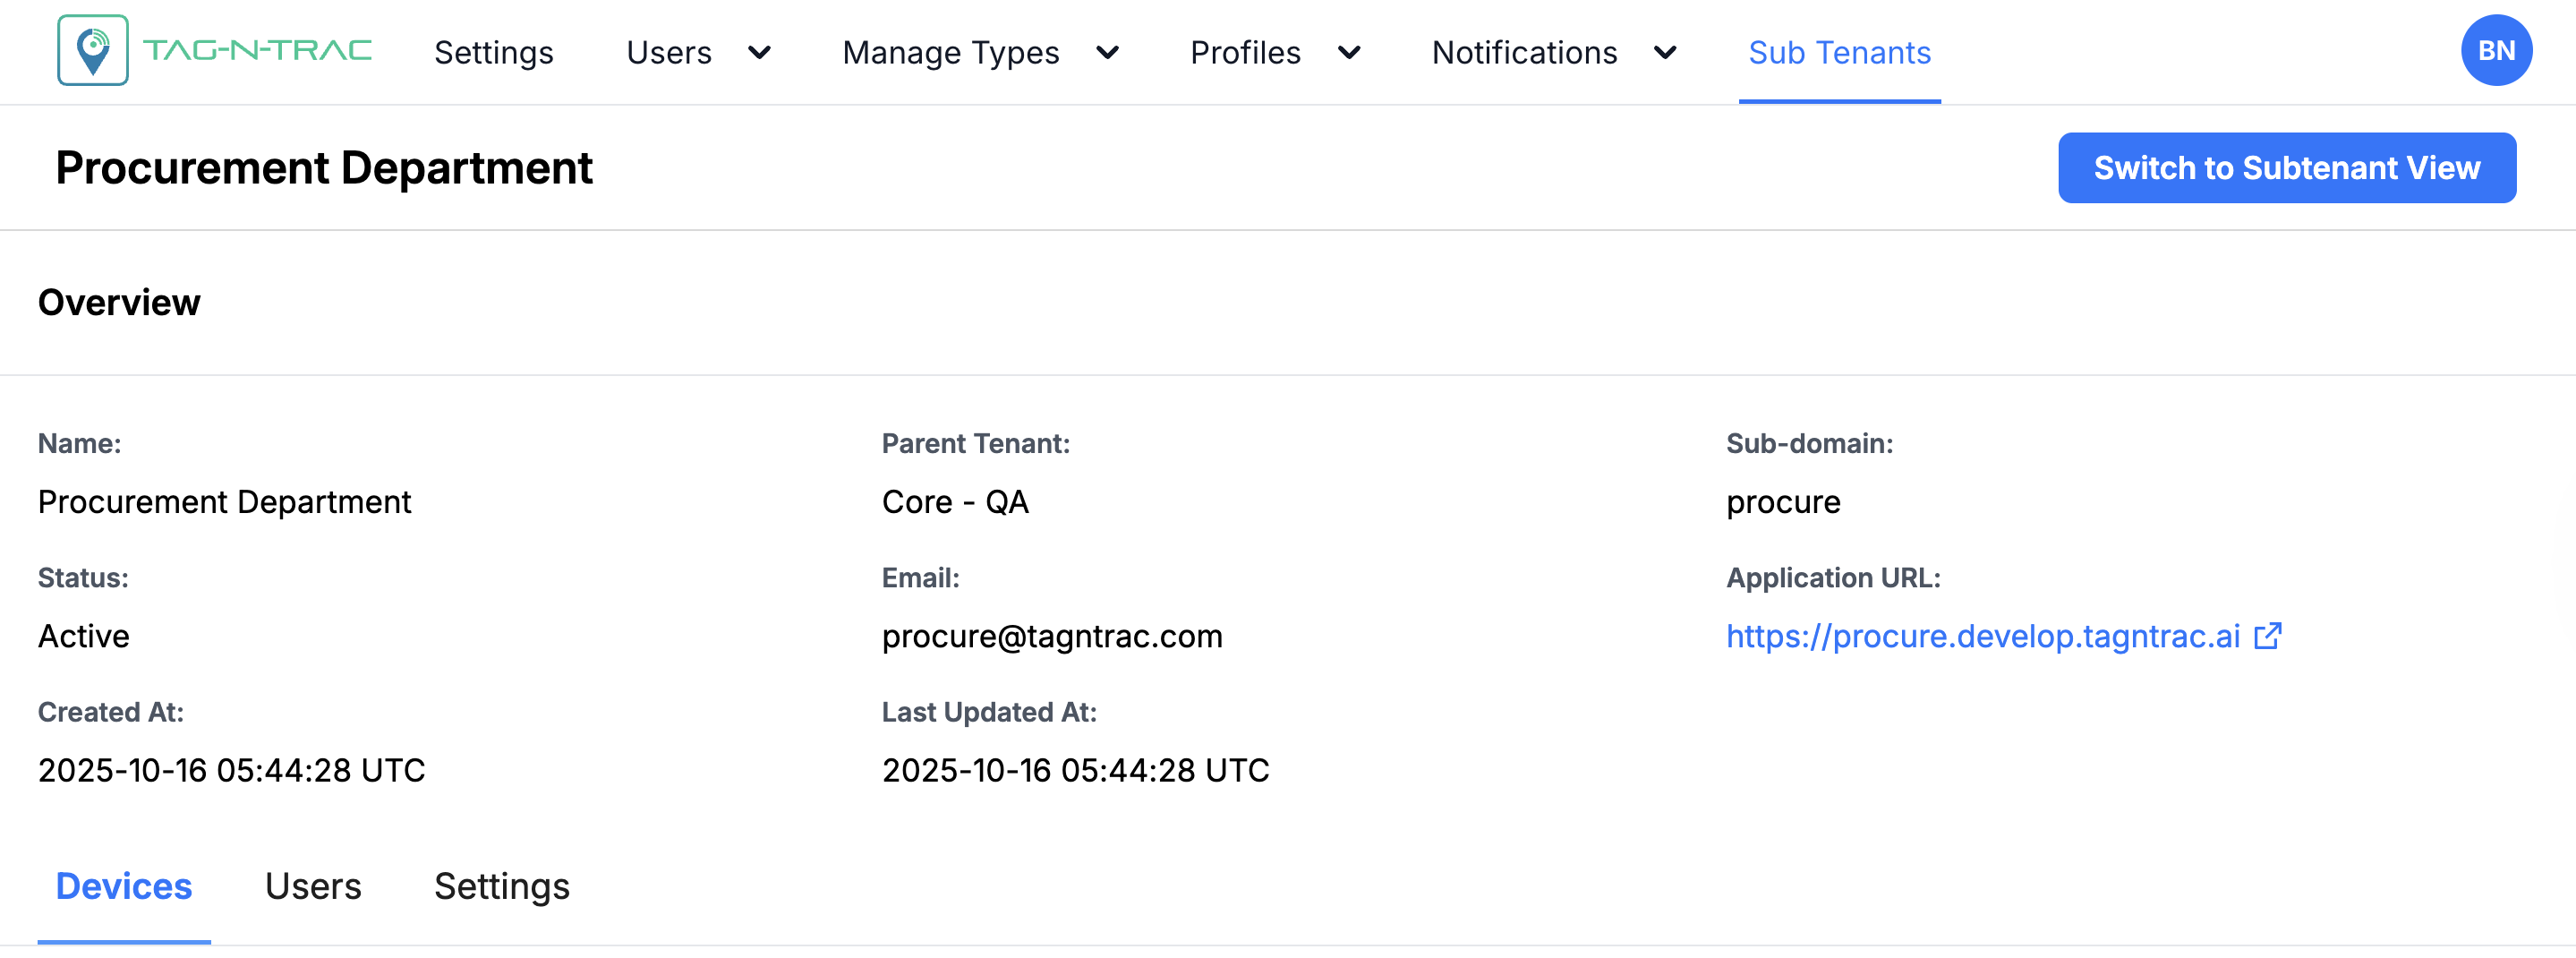
-
The following tabs are available within the Sub-Tenant Details page:
- Devices Tab
- Users Tab
- Settings Tab
Devices
The Devices tab displays all devices registered under the selected sub-tenant. Use the search field to quickly locate a specific device by its identifier or model.
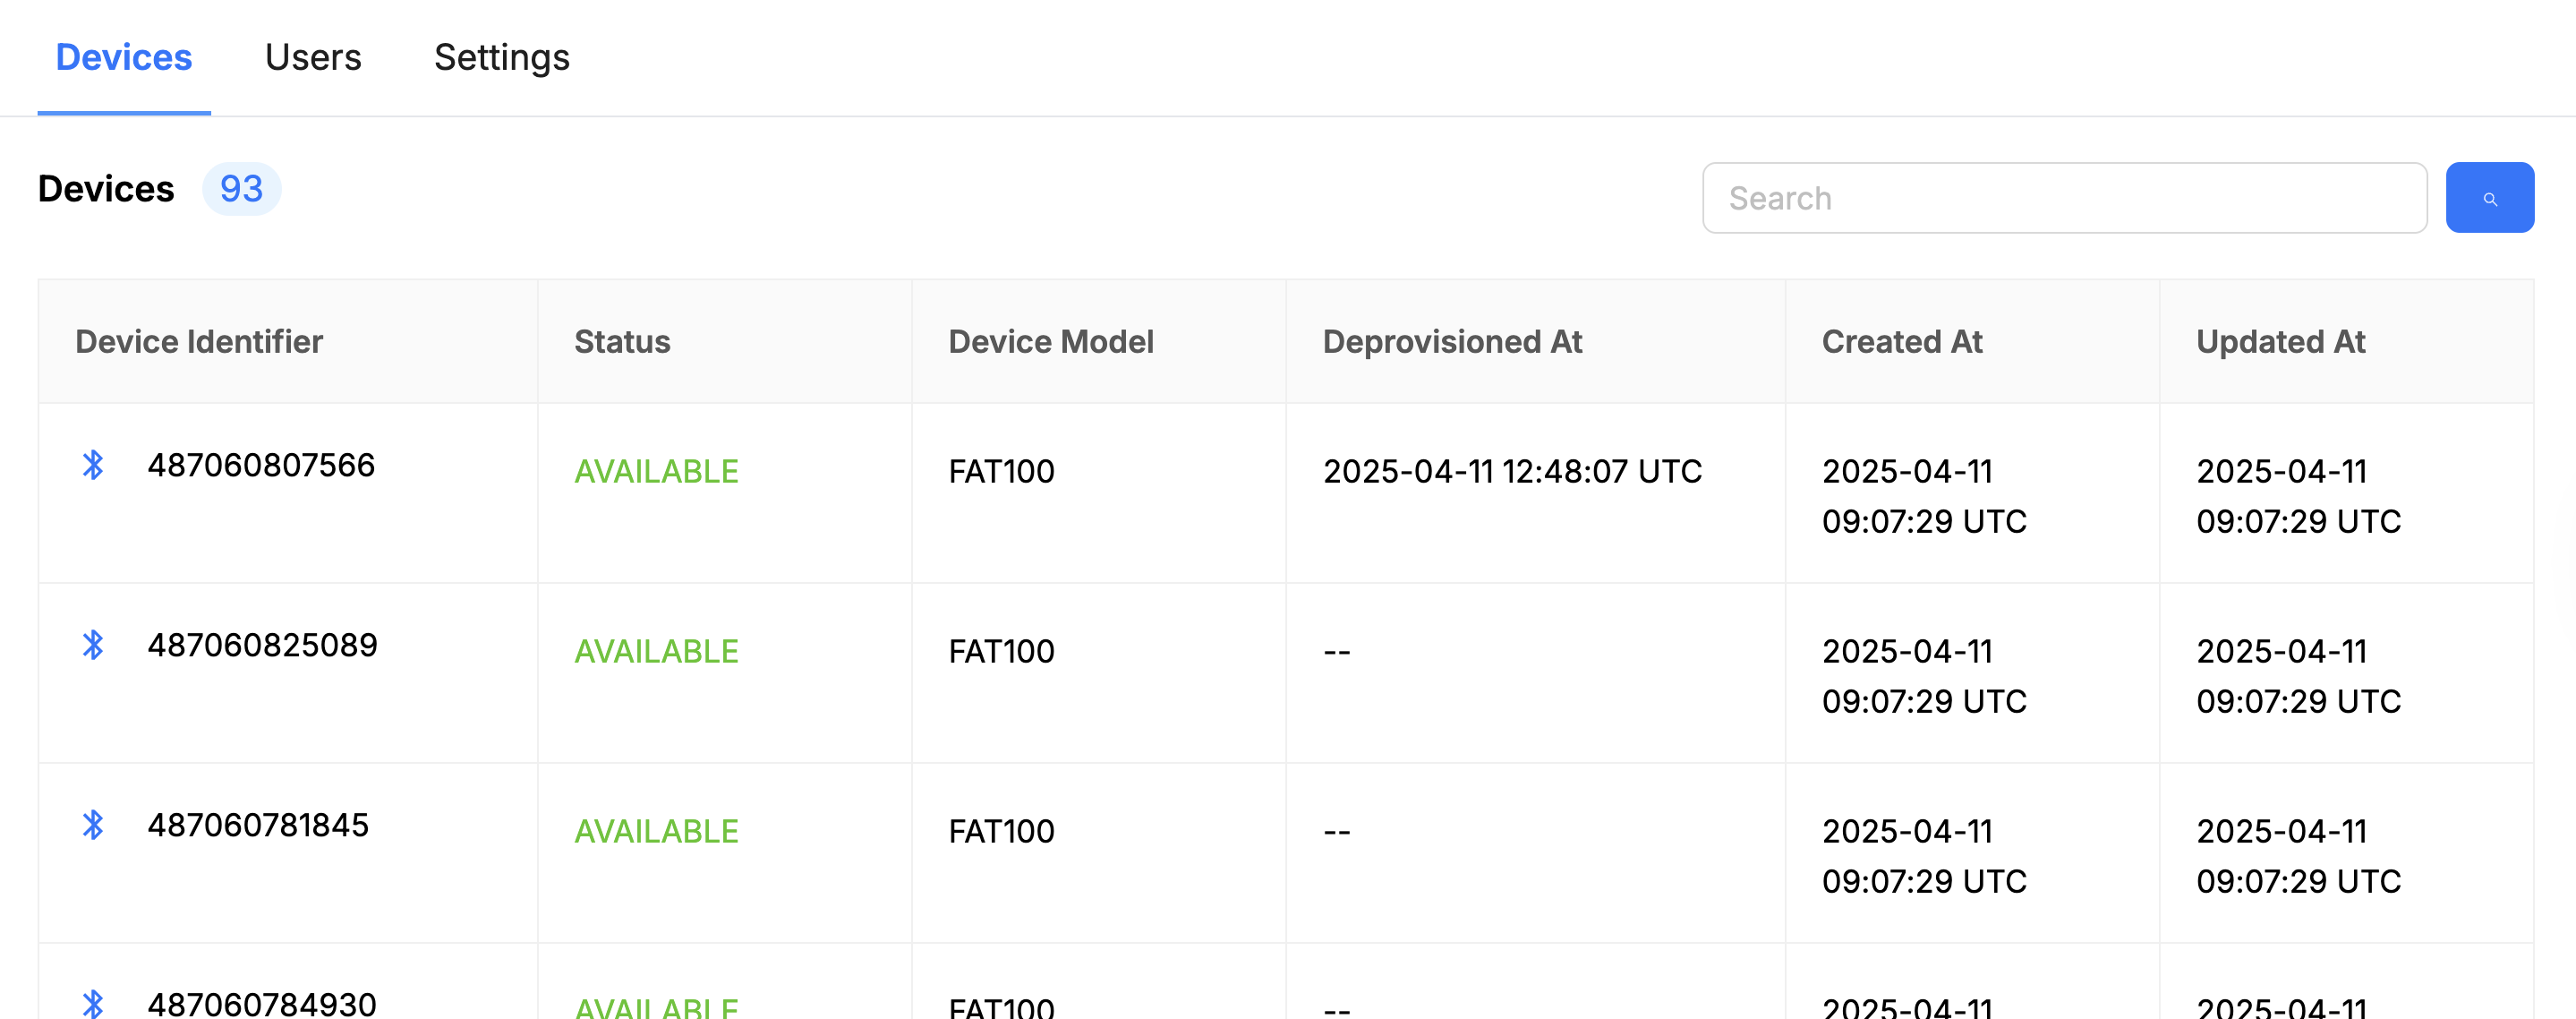
Devices - Sub Tenants
The device list provides key information to help you monitor and manage device activity.
| Field | Description |
|---|---|
| Device Identifier | Unique ID assigned to each device within the sub-tenant. |
| Status | Current operational state of the device (for example, Active, Inactive, or Deprovisioned). |
| Device Model | Model name or type of the device. |
| Deprovisioned At | Date and time when the device was deprovisioned, if applicable. |
| Created At | Date and time when the device record was created. |
| Updated At | Date and time of the most recent update to the device information. |
Users
The Users tab allows you to manage user access within the selected sub-tenant. From here, you can invite new users, view existing users, and search for specific accounts.
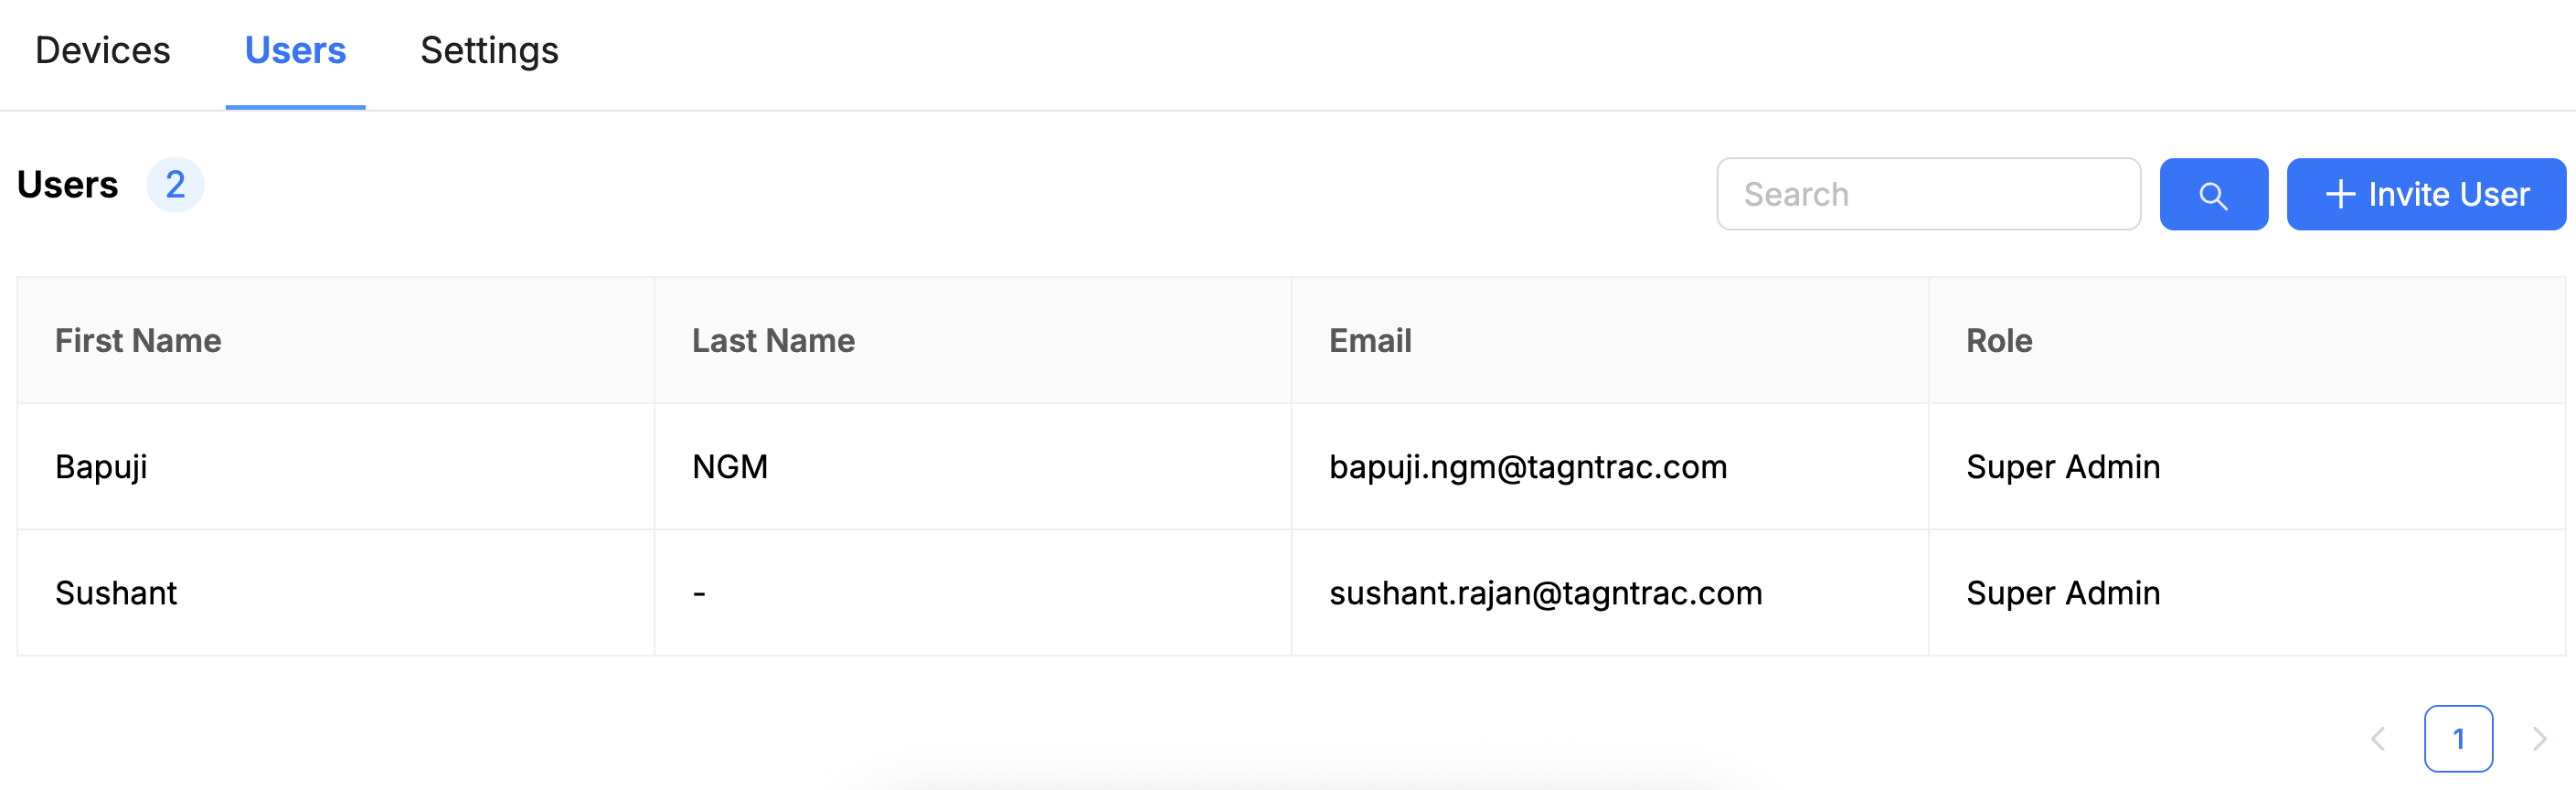
Users - Sub Tenants
Invite a New User
Invite Users - Sub Tenants
To add a new user to the sub-tenant:
- Click + Invite User.
- Enter the following required information:
- First Name
- Last Name
- Role (select from Viewer, Editor, Admin, or Super Admin)
- Click Submit or Add to complete the invitation.
Once invited, the new user will appear in the Users List and will receive an email invitation to complete registration and access the platform.
User List
The user list displays all users associated with the sub-tenant. Use the search field to quickly locate a user by name or email.
| Field | Description |
|---|---|
| First Name | The user's first name. |
| Last Name | The user's last name. |
| The user's registered email address. | |
| Role | The user’s assigned access level (Viewer, Editor, Admin, or Super Admin). |
Settings
The Settings tab allows Super Admins to configure sub-tenant preferences, including solution access, SSO login settings, and timezone options.
Settings - Sub Tenants
Assign Solutions
If multiple solutions are enabled for your organization, they will appear under the Solutions section.
Select the solution to assign to the sub-tenant. Available options may include:
- Cold Chain Monitoring
- Shipment Tracking
- Air Cargo
Choose the appropriate solution for the sub-tenant based on their operational requirements.
SSO Login Configuration
Under SSO Login, you can manage single sign-on (SSO) settings for the sub-tenant.
- To inherit SSO settings from the parent tenant, select the checkbox labeled Inherit SSO login settings from parent tenant.
- Sub-tenant users can later modify their own SSO configuration after logging into their sub-tenant environment.
Timezone Settings
Select the appropriate timezone from the dropdown list to align system timestamps with the sub-tenant’s regional time.
Save Changes
After configuring the solution, SSO, and timezone settings:
- Review your selections.
- Click Save Changes to apply the updates to the sub-tenant.
Best Practices
These best practices outline the recommended process for creating, configuring, and managing Sub-Tenants within the RELATIVITY Platform.
Subdomain and Access Management
- Assign each sub-tenant a unique subdomain under the main platform domain (for example,
tenant.tagntrac.ai). - Follow a consistent naming convention for subdomains to streamline management across environments.
- Once created, subdomain URLs cannot be edited — review carefully before finalizing.
- Use subdomain names that reflect the organization or customer brand (for example,
mycompany.tagntrac.ai). - Enforce data isolation so that users can access only the data and resources within their assigned subdomain.
Roles and Permissions
- Only Super Admins can access and manage the Sub-Tenants menu.
- Assign appropriate role permissions when inviting or managing users:
- Viewer
- Editor
- Admin
- Super Admin
- Super Admins are responsible for reviewing and approving all sub-tenant configurations before creation.
Sub-Tenant Creation and Configuration
- Verify that all required details — Name, Subdomain, Email, Description, and Timezone — are entered correctly before creation.
- Review sub-tenant information carefully, as these details cannot be modified after creation.
- Use the confirmation dialog to validate details before completing the setup.
- Write clear, concise sub-tenant descriptions that describe purpose or ownership.
- Provide a valid administrator email to ensure reliable communication and support.
Sub-Tenant List and Management
- Regularly review the Sub-Tenants List to track configuration and operational status.
- Maintain visibility of:
- Sub-tenant Name
- Status (Active/Inactive)
- Created At and Updated At timestamps
- Use the search field to quickly locate or verify sub-tenants.
Device Management
- Use the Devices tab to track devices associated with each sub-tenant.
- Monitor device identifiers, models, and operational status (Active, Inactive, or Deprovisioned).
- Keep device records updated with accurate timestamps.
- Use the search feature to locate specific devices efficiently.
- Deprovision devices promptly when they are no longer active or needed.
User Management
- Manage user access and invitations from the Users tab within each sub-tenant.
- When inviting a new user:
- Enter the user’s First Name, Last Name, Email, and Role.
- Ensure users receive and accept email invitations to complete registration.
- Keep the User List accurate by reviewing user information regularly.
- Use the search function to find and verify user accounts quickly.
Settings and Customization
- Configure the Settings tab for each sub-tenant to manage:
- Assigned solutions
- SSO login settings
- Timezone preferences
- When multiple solutions are available, assign only those relevant to the sub-tenant’s operations.
- To simplify authentication management, select Inherit SSO login settings from parent tenant, if applicable.
- Always click Save Changes after modifying any configuration settings.
Timezone and Localization
- Select the correct timezone during sub-tenant creation to ensure accurate timestamps and scheduling.
- Timezones can be updated later through the sub-tenant’s settings page if needed.
Data Integrity and Accuracy
- Double-check all details before submitting the sub-tenant creation form.
- Maintain consistent naming conventions and data entry formats across all sub-tenants.
- Verify that generated application URLs are valid and accessible.
General Operational Practices
- Keep all sub-tenant, device, and user records up to date.
- Periodically audit sub-tenants to ensure they remain active and properly configured.
- Use built-in search fields to manage and locate records efficiently.
- Keep platform documentation and screenshots updated with the latest UI or feature changes.
Summary of Key Best Practices
| Area | Best Practice |
|---|---|
| Subdomain Management | Use clear, consistent, and immutable subdomain names. |
| Access Control | Restrict sub-tenant management to Super Admins only. |
| Configuration | Verify all required fields before creation. |
| Monitoring | Regularly review sub-tenant lists and statuses. |
| Devices | Track and deprovision devices accurately and promptly. |
| Users | Validate user details and assigned roles. |
| Settings | Assign relevant solutions, configure SSO, and set timezone properly. |
| Data Integrity | Maintain consistent and accurate records for all sub-tenants. |
Updated 10 months ago